


Congratulations on the purchase of your beautiful shutters. These instructions will guide you through the easy assembly and installation.
What's in Your Package
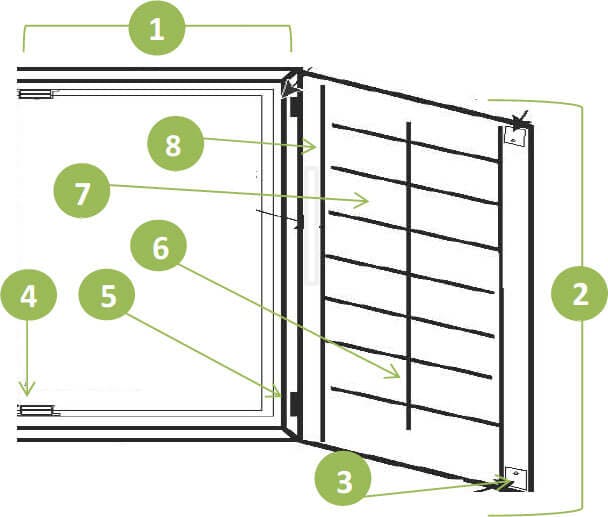
- Panels (w/hinges pre-attached)
- Frames (w/hinges & corner joints)
- All Mounting Hardware (pins & screws)
- Screws: Small Pan Head - Magnets Small Flat Head - Magnet Plate Medium - Frames Large - Shutter to Wall
Step 1. Unwrap
Remove shutters from packaging and be sure to locate your hardware bag on the outside before disposing packaging.

Step 2. Assemble Frame
Slip leg into top and bottom of frame. Using the medium screw, set inside pre-drilled holes.

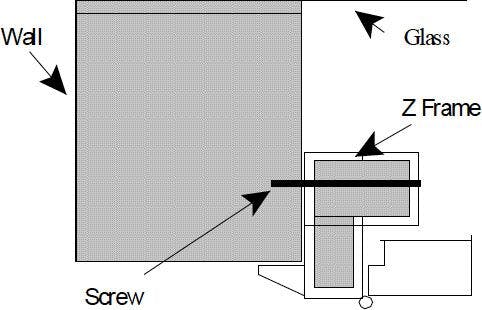
Step 3. Mount Pre-Drilled Frame (Inside or Outside Mount)
Using the pre-drilled holes as your guide, set frame in window opening using the large screws. Set the top screws on both sides by drilling all the way in, then drill the screw back out & set back in. Do not over tighten or distort frame. Set remaining screws after you rack the shutter.
Note: For panels taller or wider than 60", drill an additional screw hole in the center of the existing holes, using a drill bit #8.
Outside Mount

Inside Mount
Note: Use white paintable caulk on the wall outside of both frame legs where the frame meets the wall. If the shutter sits on a sill, caulk between the frame and the sill. Use a damp cloth to clean up excess caulk.

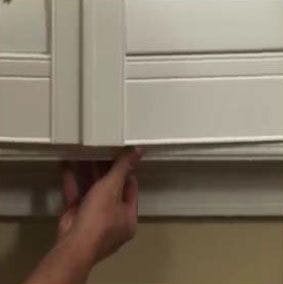
Step 4. Hang Pre-Hinged Panels
Place the Pre-hinged panel in the frame by matching up the hinges. Now drop in pins to secure each hinge.
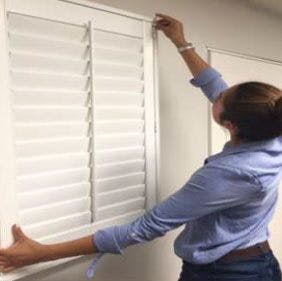
Step 5. Rack the Shutter
Make sure frames are square and panels close properly by racking the shutter. To rack, slide the frame right to left until panels are even and square with the frame. Once the panels are square, hold the bottom frame in place and set the left and right frame with large screws. Set middle screw (if needed) last. Do not over tighten.
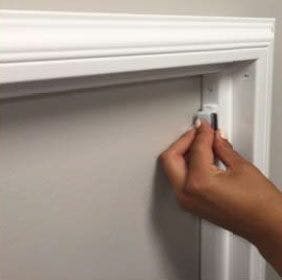
Step 6. Attach Magnets
Single Panel Shutter
Place the top of the magnet approximately 1 1/2" down from the inside corner and attach magnet using the small pan head screw. Repeat for bottom magnet.
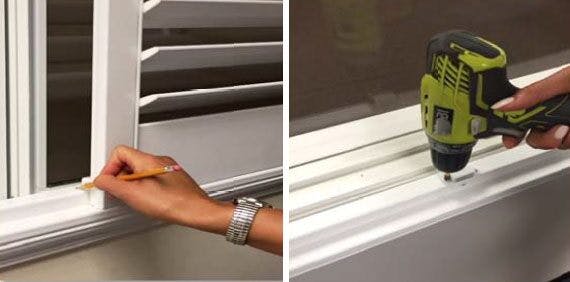
Double Panel Shutters
Close the front overlapping panel door, then pencil mark on bottom frame where closed stile meets the frame. Then place outside of magnet by the pencil mark & set using small screws.
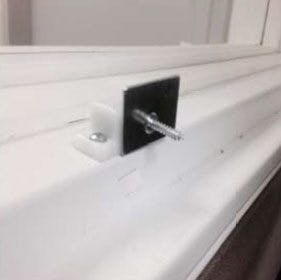
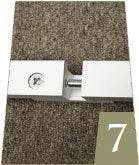
Step 7. Attach Panel Magnet Plates
Place magnet plate on magnet with screw facing out. Then close shutter panel pushing onto screw to create an indentation for screw location. Then set magnet plate with small screw into the marked indentation on the panel.
Shutter Care
Your shutters can be cleaned with a damp cloth, a feather duster, or washed with soap and water.
Deluxe Installation Instructions
Step 1
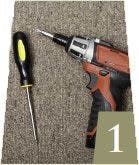
- Power drill
- Square tip drill bit
- Phillips head screwdriver
- Hardware kit (provided)
Step 2

Gently remove shutters from box. Shutter panels are pre-hinged to the frames and the magnets and strike plates are pre-installed. Shutters are labeled according to your order worksheet and will also correspond to the enclosed packing list.
Step 3
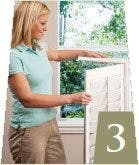
To remove panels from frames swing panel out, away from frame.
Step 4

Carefully lift top portion of Lift-Away Hinge up. Panel hinge will release from bottom portion of hinge that is attached to frame. Set panels aside.
Step 5
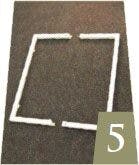
Turn frame sections over and locate the frame connectors.
Step 6
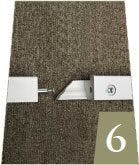
Use the frame connector to attach the left and right sides of the frame together. Ensure that the arrow on the cam is pointing toward the hole on the edge of the frame.
Step 7
Insert the metal dowel into the hole and slide the frame pieces together.
Step 8
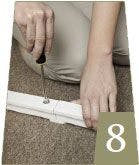
Use your screwdriver to tighten the cam by turning clockwise until snug.
Step 9

Attach a square tip drill bit to your power drill and place the frame on the wall where you intend to mount it. Using the installation screws provided, attach the frame to the wall or trim. Make sure to insert a screw in each of the predrilled holes.
Step 10

Reattach shutter panel by lining up the top portion of the Lift-Away Hinge back into the bottom portion that is attached to the frame.
Step 11
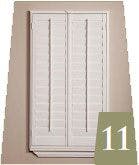
Close the shutters and ensure panels are square in the frame. To adjust, remove both lower installation screws. Close shutters and gently slide lower frame left or right until panels are square in the frame. Reattach installation screws.
Step 12

Place the screw covers over each of the screw holes in the frame. DO NOT cover the screw holes located on each side of the shutter panel itself.
Operation and Care
We hope you are pleased with your new shutters, which are designed to be maintenance-free while adding beauty and elegance to your home. Please review the items below for the care and operation of your shutters.
Shutter Care
Clean your shutters as needed with damp cloth. Dust with a feather duster.
Opening & Closing the Louvers
Use the tilt-rod control in the center of each panel to open and close the louvers.
Closing Shutter Panels
Align the panels in front of the window. If there are 2 panels or 4 panels in the shutter, the right panel will close over the left panel in the middle. Push in firmly towards the window. The fit should be snug and tight.
Adjusting Louver Tension
If the louvers become too loose over time and will not remain in the open position, the tension may need to be tightened. Locate the tension screw hole in the side of the shutter panel. Insert Phillips screwdriver and make a slight clockwise turn. If the louvers are too tight, turn counter-clockwise to loosen.